Photos for digital products – a guide
Product photos for your digital products are essential to customers’ buying decisions; it’s the most important factor in deciding to buy.
A poor image could prevent you from making a sale, even if you have the most awesome product.
That’s why I’m sharing everything I know about how to use images that get your customers to click and buy.
I’ll give you tips on how to highlight your product’s best feature. Then you can make awesome product photos for digital products without touching a camera.
Why are product photos for digital products so important?
When shopping in a bricks-and-mortar store you can pick up the product and touch it and hold it in your hands.
However, when you browse online, you can’t do this. All we have are the product images.
If the idea of producing images for your products is challenging and something that’s been holding you back, you’re not alone. Many Etsy sellers struggle with creating great product images, especially when they’re first starting out.
But, don’t worry.
I’m going to give you the tools and techniques to get started. Now you won’t waste your time on poor product images and risk losing sales.
Just follow my step-by-step instructions and you’ll soon be creating images that have customers queuing up to buy from you.
So, let’s get started.
High quality product photos are essential
As you know, high quality product photos for digital products are essential. They must:
- Grab the attention of customers and compel them to click
- Clearly display the product so that customers know exactly what they’re buying
- Display information about size, colour, and materials
- Illustrate how the product can be used
- Help customers to imagine the product in their lives
- Be branded with your Etsy shop brand personality
- Use blank space to be clear and clutter-free
Use mockups
I sell digital items from my Etsy shops and I like to make producing the product images as simple as possible.
To do this I use mockups.
And this way you don’t have to worry a bit about photography skills. You can still make your images look realistic, but by using mockups it’s clear to your customer that they’re buying a digital product. Think about how your customer will use your product and then use a layout that shows it in its natural setting.
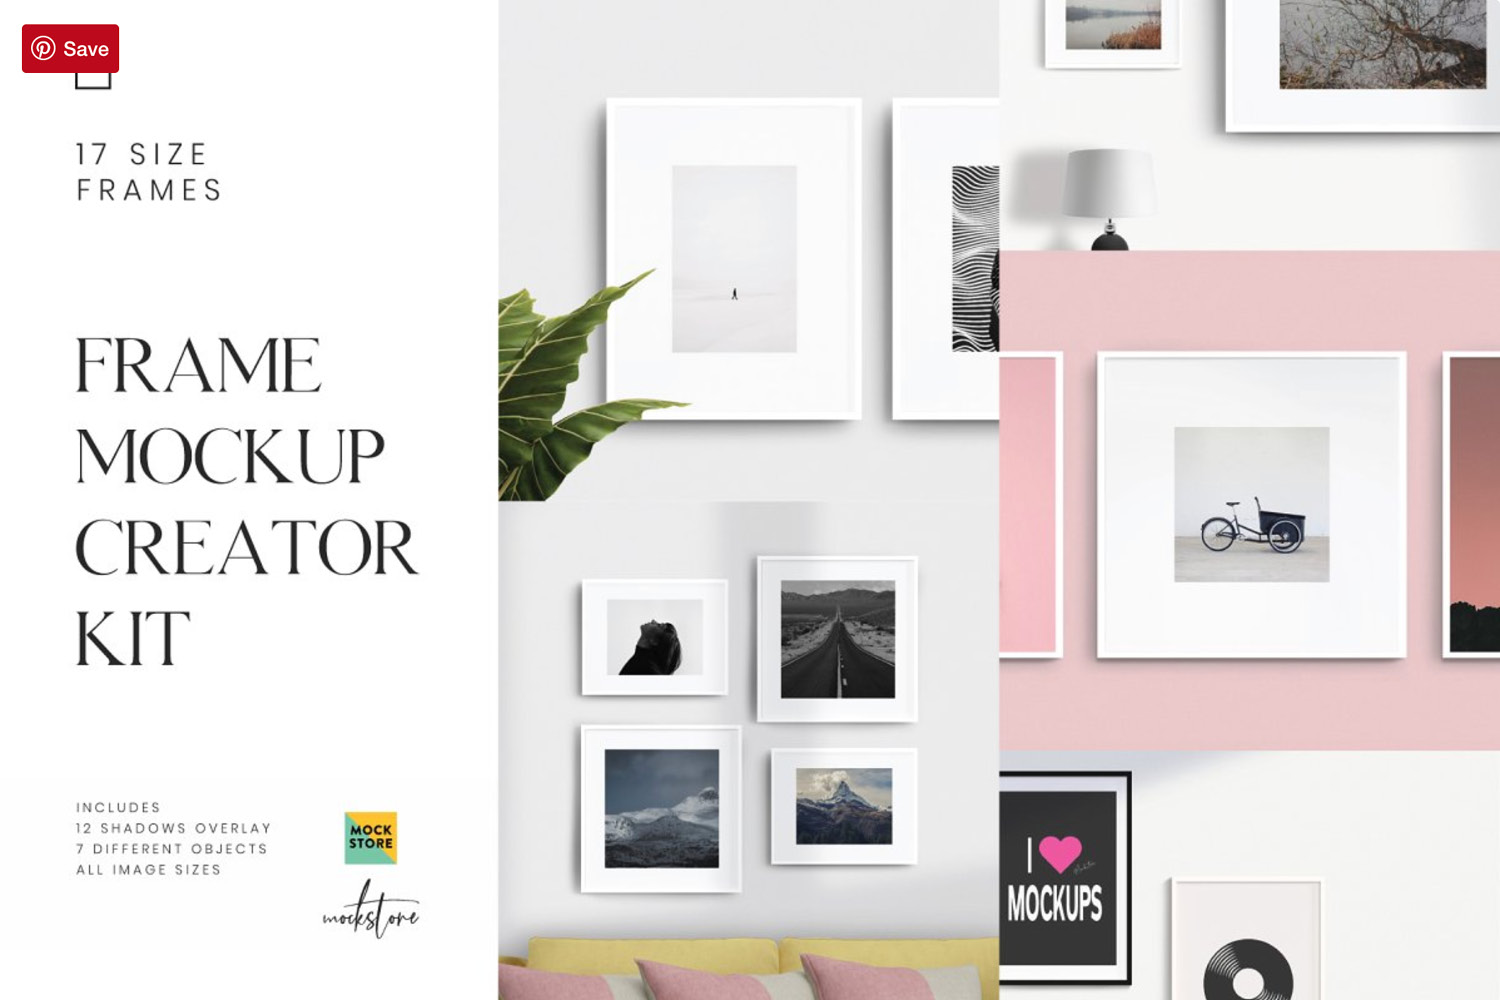
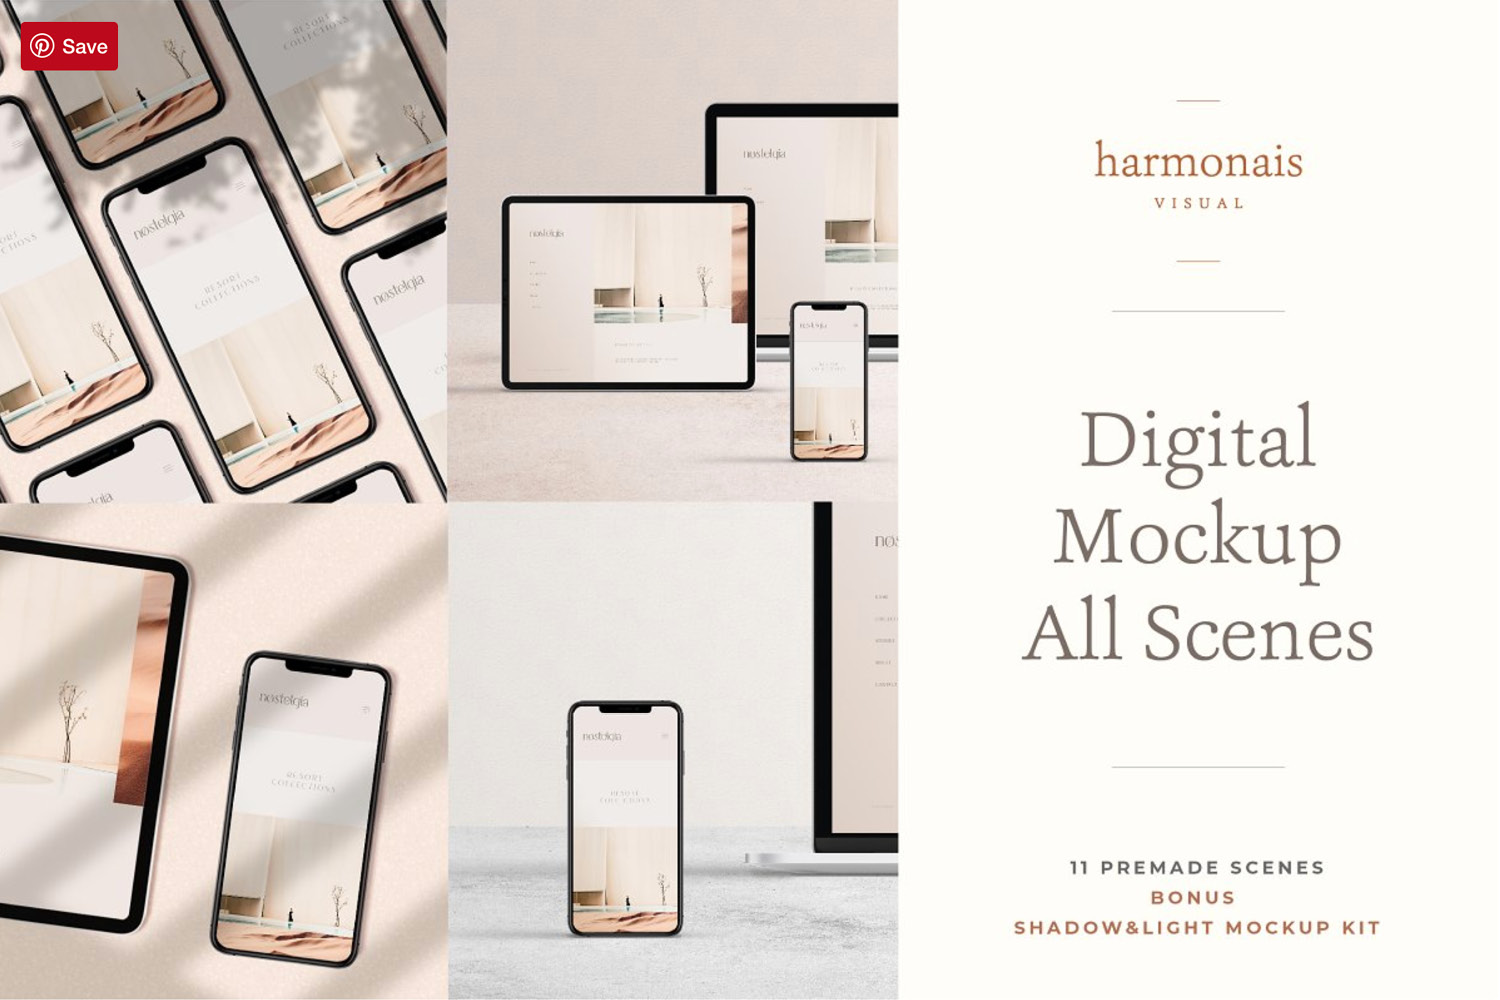
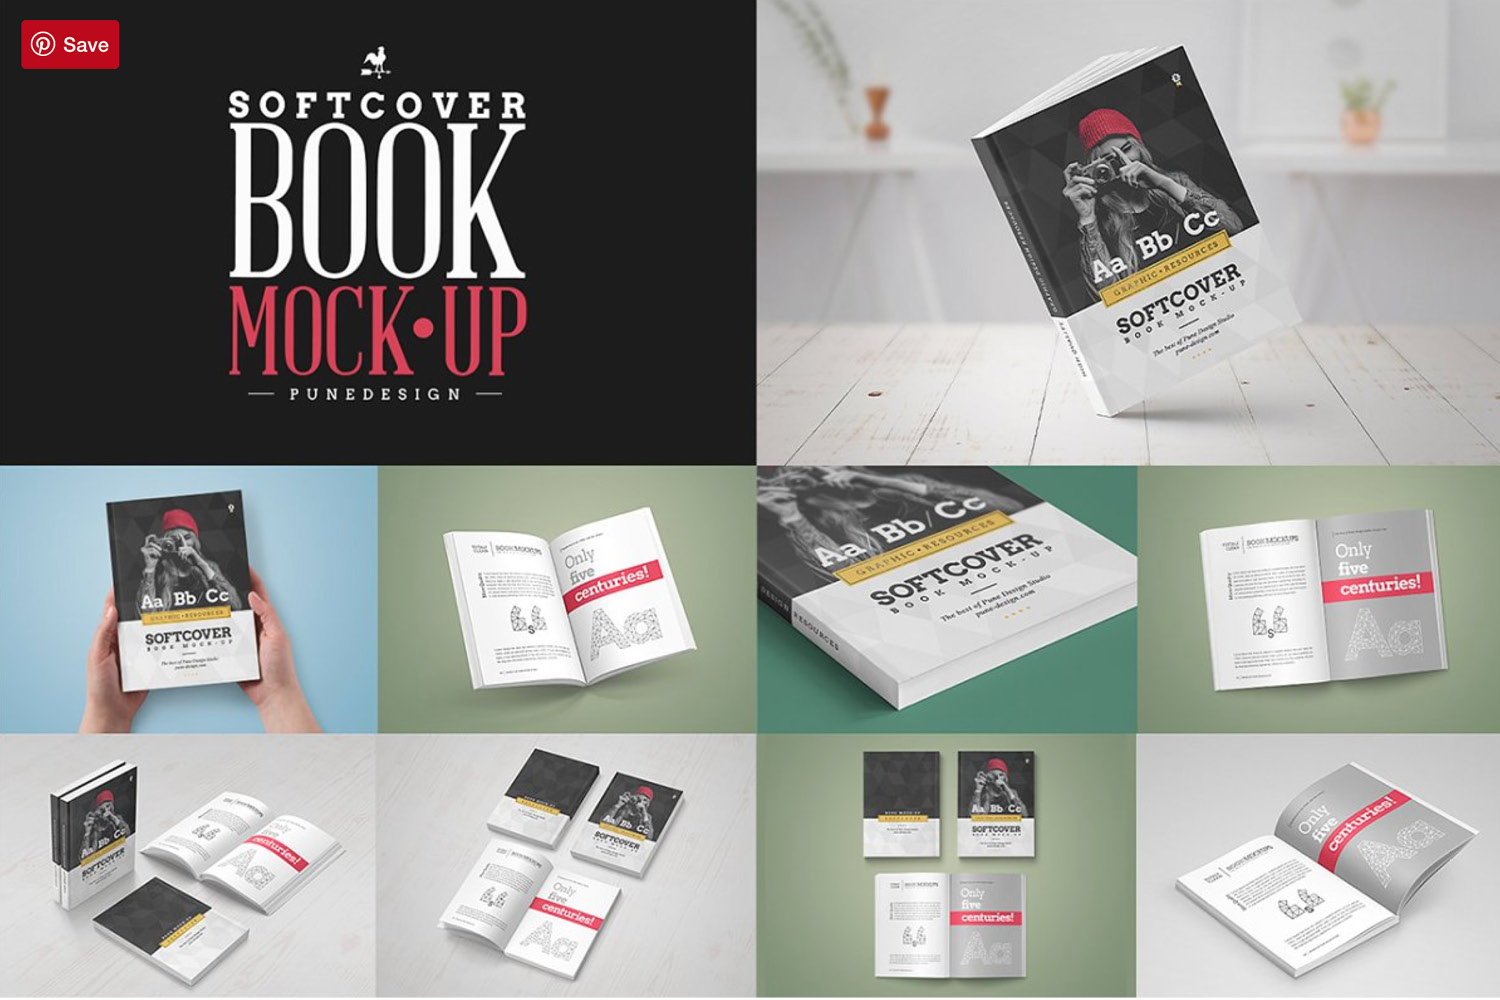
For example, using shadows can make a pdf look like it’s printed on paper. eBooks can be displayed on iPads. Also, a website template can be displayed on a computer screen.
Below are some examples of mockups that you can buy from Creative Market.
Using mockups makes it easy to update an image too, should you need to change your products in any way.
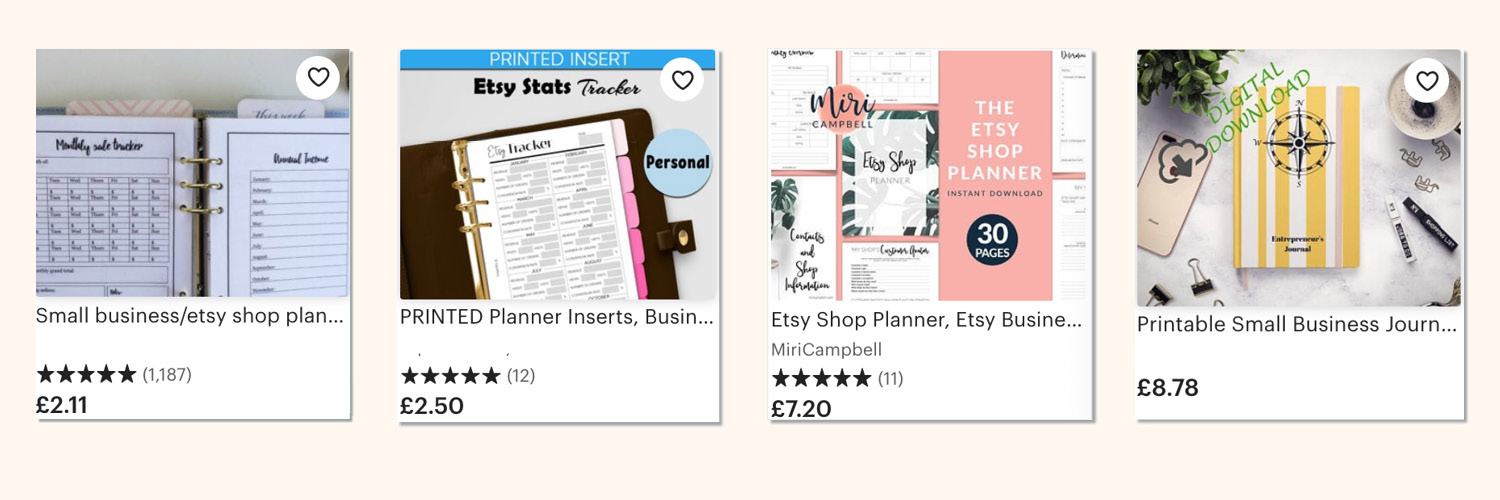
If you did a search for a product and the thumbnails below came up, which grabs your attention first?
Hopefully you’ll agree it’s the Etsy Shop Planner. I try to make my product images stand out in a search results page.
So, to make it stand out I kept the image simple but bold. Additionally, I used lots of empty space to create order, balance and stop my buyer from feeling inundated with information. A good idea is to choose bright colours in your background.
Go ahead and do a search using your products’ keywords and look at the general colour of the listings that show up. Could you use an opposite colour to make your listing stand out?
The Cover Image
The cover image is the first image you upload to your product listing. It’s the one that appears in a search. The cover image compels customers to click on to your listing. Therefore, this image really needs to “wow” your audience.
Etsy recommend that a listing image size is 2000px for the shortest side of the image with an aspect ratio of 4:3 and a resolution of 72PPI.
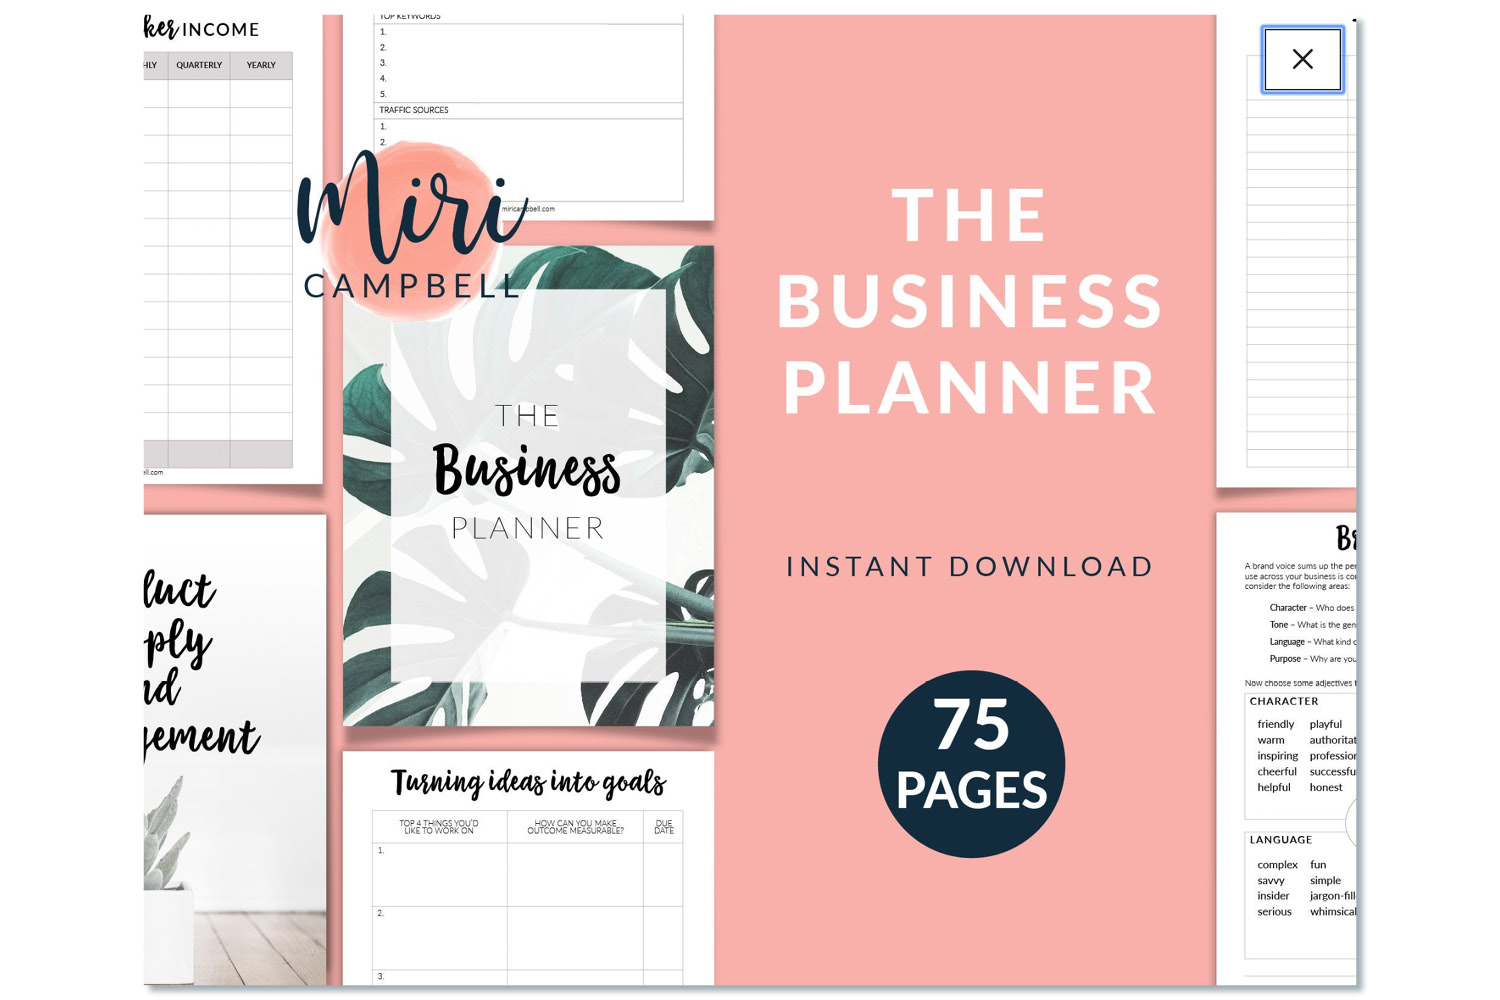
Here’s an example of a cover image from my shop, MiriCampbell:
It is clear on the image what the product is and helps the potential customer decide if this is something they’ll want to buy.
If you’re making an image for a multi page product like this Business Planner then don’t feel the need to show every page. Instead, choose 2 or 3 pages which gives an idea of the product. If you show everything, your image will be overcrowded, and your customer might feel overwhelmed by it all and run.
Remember to include your logo on all images. This helps to establish your brand and makes it clear who has made the product.
The Other Images
Etsy let you upload up to 10 images for each product. When listing your product, use all of the images that are available.
If you’re struggling to produce these many images, perhaps include an image which explains that this is a digital product. In addition, include an image that gives your customer instructions on how to use, and an image that gives a promotional code .
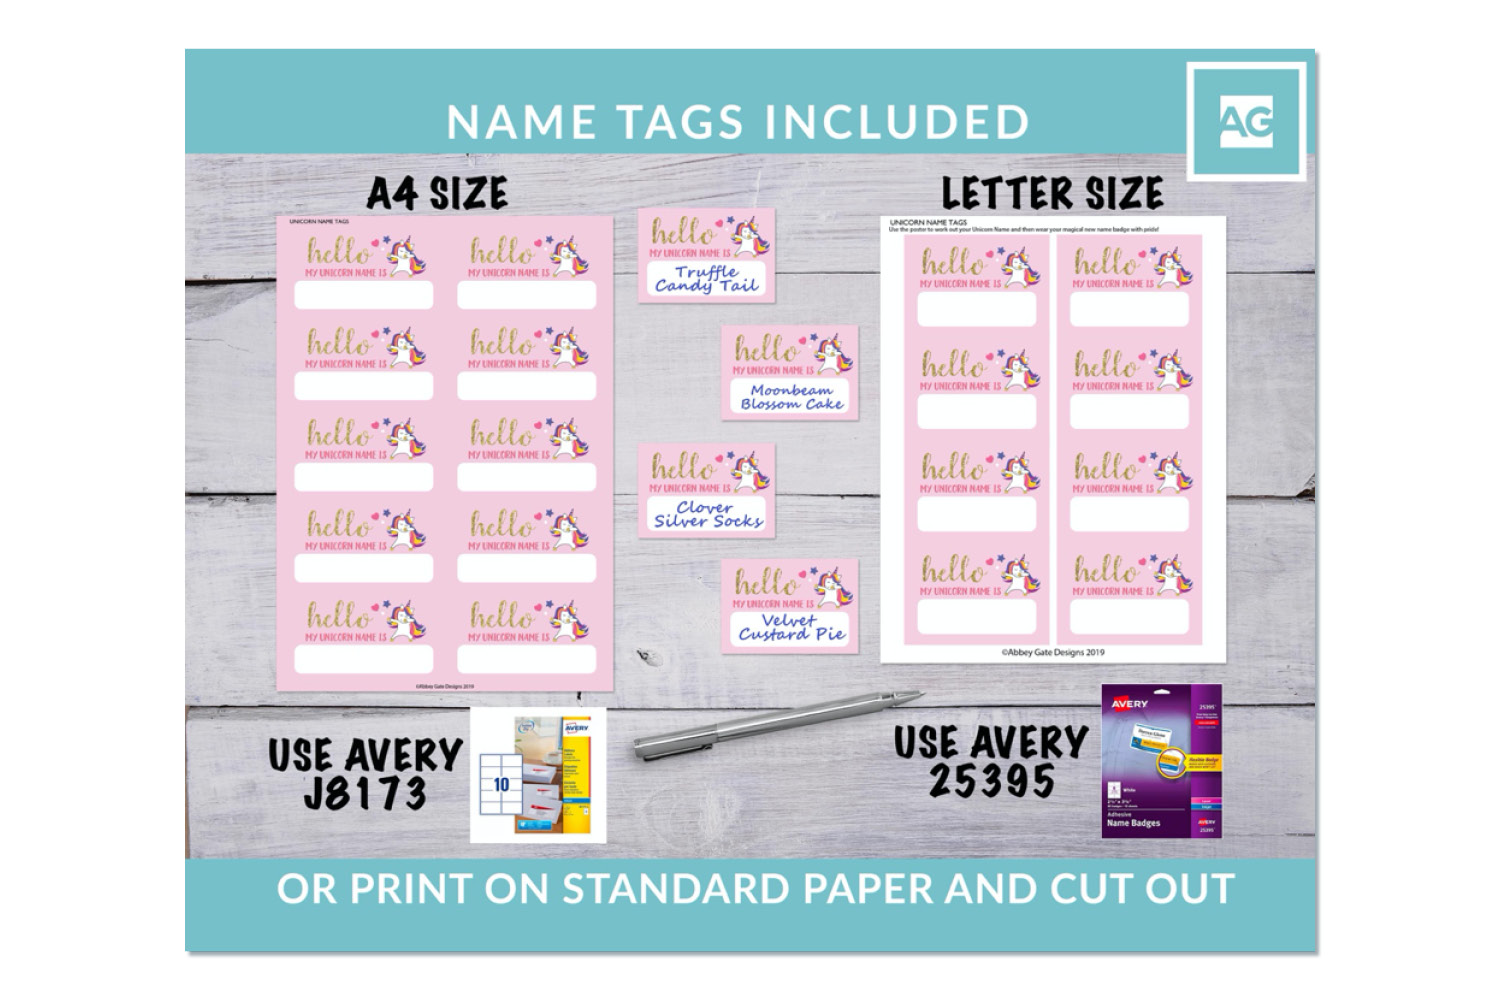
You can include an image that shows the size of your product by giving measurements or including other objects to give an idea of scale like in the example below.
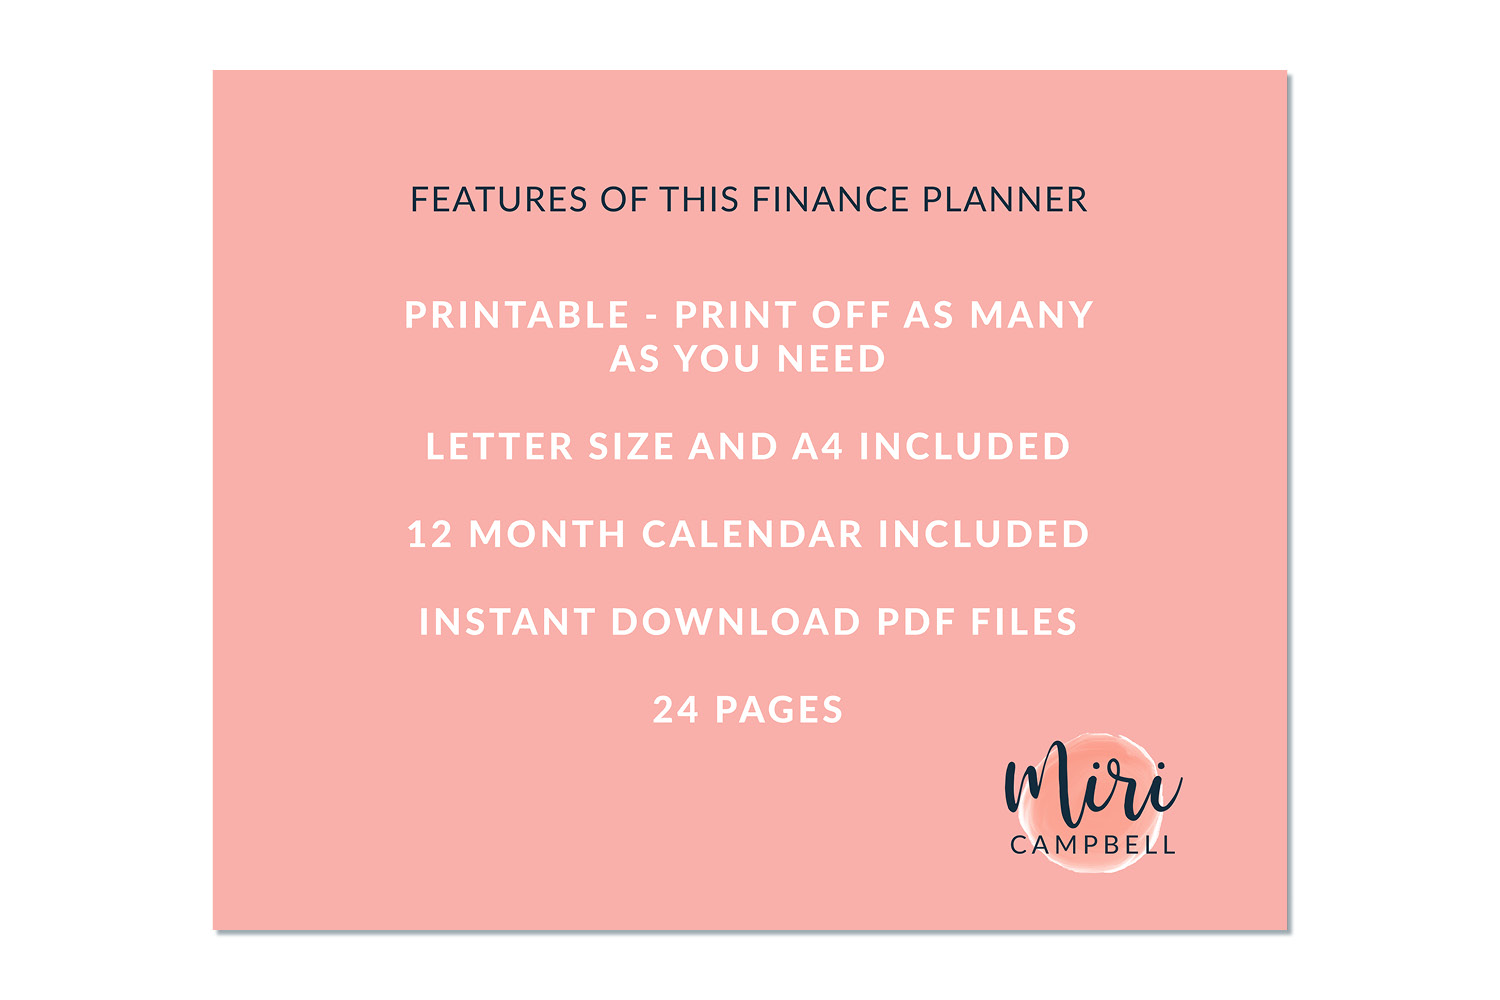
You can also include text from the product description on your images. Many buyers don’t read the description that comes with a listing so adding a list of benefits of your product in an image is a great idea.
This image for my Finance Planner appears towards the end of the 10 images and reminds customers of the features.
Make sure any fonts you choose are simple to read and stand out on a small scale as people will be browsing on phone screens. If your buyer can’t tell straight away what your product is then they’ll click away.
These tips all help to give your customer a clear idea of what they are purchasing.
Grab your free checklist
To sum up, I’ve made a handy printable checklist. Use it to check you have included all of the elements to make your digital product images the best they can be. Subscribe to my email list below and download the checklist.

So, let me know in the comments below how you found making your product images for your digital products.
If you would like some help or advice you can leave a link to your Etsy shop and I would be delighted to take a look for you.
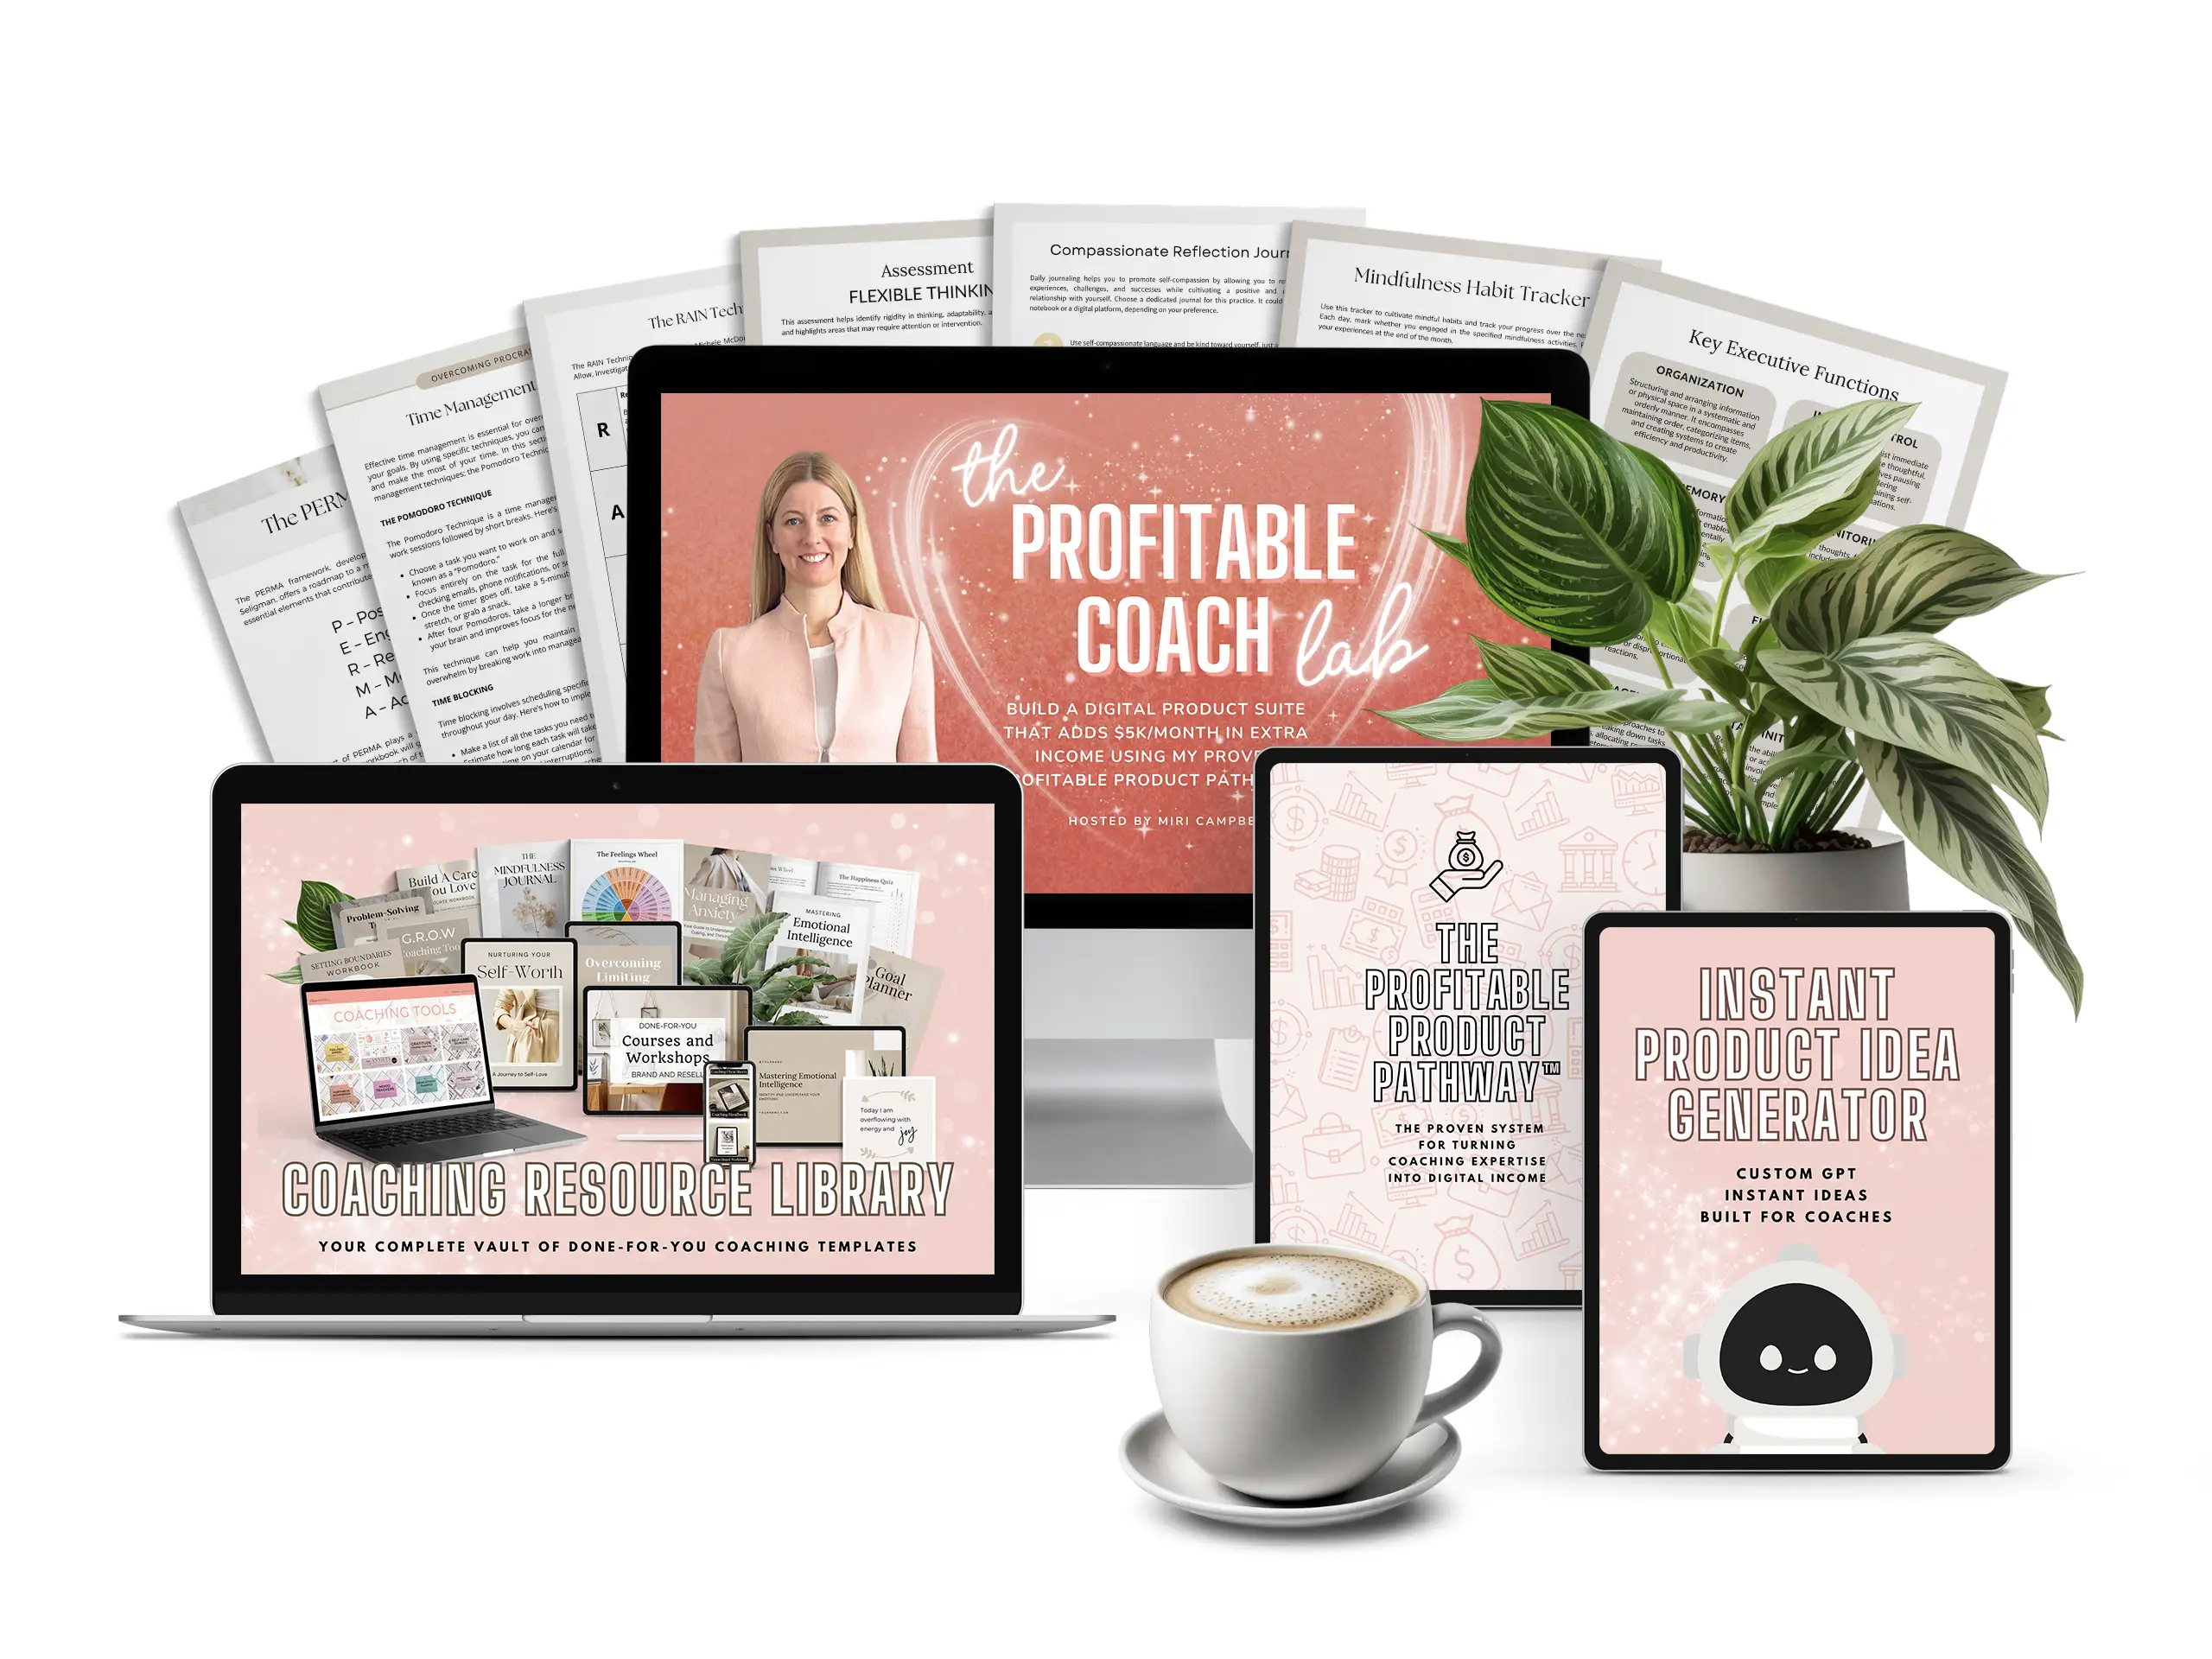
Want a proven system to turn your coaching expertise into digital products that grow your income?
The Profitable Coach Lab
Lifetime Access to Your Complete Coaching Product Suite System
Get everything you need to turn your coaching expertise into a full digital product suite designed to sell and grow your income.
Inside The Profitable Coach Lab, you’ll follow a proven step-by-step system to build your sellable products fast using done-for-you templates.
Come in, follow the steps, and create digital coaching products you can sell again and again.

